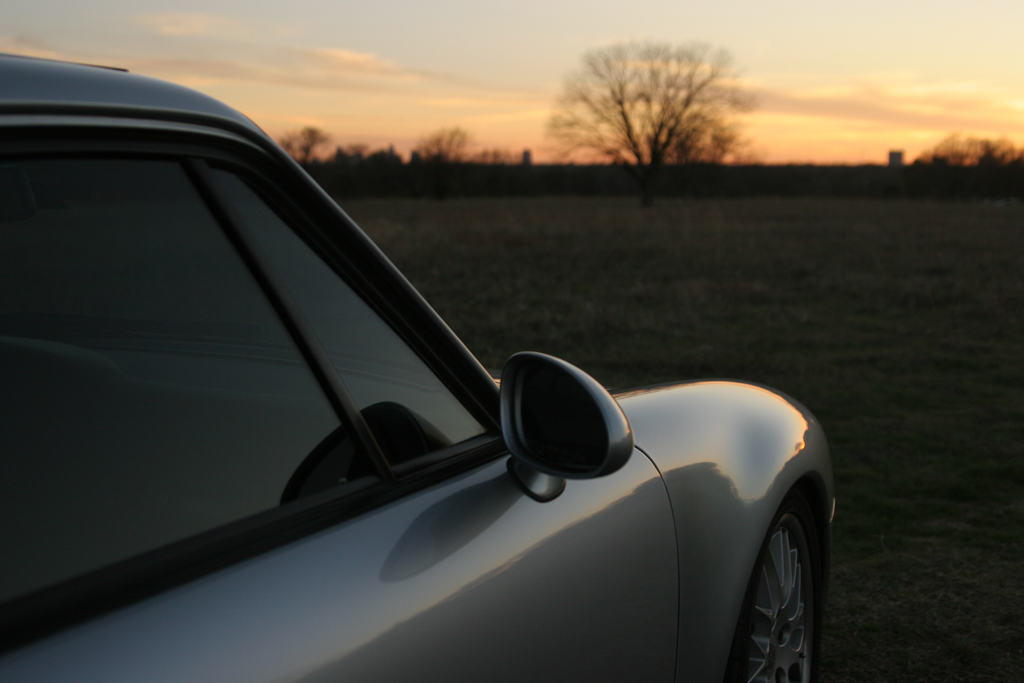
Thursday, March 7, 2013

Rear Control Arm Rubber Boot/Gasket Repair


Update 21-Apr-2014:  After more than a year and 2500 miles, the repairs looks to holding up well.  I can't tell for sure without removing the control arm, but installed there are no visible openings in the boot.

-----------------------------------------------------------------------------------------

While installing the H&R springs, we tore the rubber boot on the rear lower control arm (Part number 99333104301).  This was easy to do as the rubber was clearly worn around its typical crease position.

This ball joint is press-fit into the control arm with the rubber boot as an integrated part of the assembly.  Despite significant effort, I couldn't find anyone who could replace it, or any boots that even came close to having the same design.  (If anyone does know of either, leave it in the comments!).  The other option is to replace the entire assembly, but that is over $200 to fix a worn boot!

After a bit of searching on the web, I found two different suggestions for dealing with this issue: 1. use silicone sealant to repair the gap or 2. make a patch with a bike tire tube.

My plan is to try the silicone sealant first, and fall back on the bike tire tube if necessary.

Here are the steps I followed.
1.  Rough-up the area to be patched with some fine-grit sandpaper (I used 1000 grit).
2.  Clean the area.  I used an alcohol swab.  I doubt this is the best cleaner, but figured it was good enough.
3.  Apply the silicon sealant.

4.  Smooth out the silicon sealant.  One useful tip I read online is to wet your finger with water.  I was amazed at how well this actually worked.

Here is a look at the finished product.  I will keep an eye on its durability and post back how well it held up.


Wednesday, March 6, 2013

Photoshoot: Feb. 2013

During the last week of Feb, we had a little impromptu photo shoot.  I took advantage of some terrific evening light and the hill behind our house, and had a little fun with my camera.

Leave a vote for your favorite and/or any constructive criticism in the comments.


Photo #1

Photo #2

Photo #3

Photo #4

Photo #5

Thursday, February 28, 2013

Window Scraper Removal


On Ella's driver side door, there was a bit of tape curving out from underneath the window scraper.  Being detail oriented, this deviation from the beautiful lines of the car really bothered me.

I was prepared for this to be a big task, and figured I would do it while replacing the door handle seals.  I removed the inner door panel and door handle, but I still could not see how to remove it.  There is a little black plastic piece at the front end of the window scraper, so I thought "if I remove that, maybe something will be more obvious".  Pull...snap/crack...expletive...retreat...search for answer on web and fail...ask for help on rennlist (thank you rennlisters)...success!

In case anyone else is retracing my steps, it is unbelievably easy to remove this window scraper.  Pull up on it starting at the rear of the door and it will pop out quite easily.

I plan to do this every time I wax the car to prevent wax build-up along this joint.


That little broken piece (993-531-429-02) from the front of the window scraper is turning out to be a little difficult to find in stock.  Either lots of people break theirs...or no one does :-).

Porsche Perception

I have found driving Ella alters the way I look at driving in unexpected ways.

When starting the car, I turn off the radio to enjoy the song from the engine rather than turn it on to mask the rattles.

When planning a route, I maximize the number of curves rather than minimize the time required.

When the light ahead turns red, I smile at the opportunity to row through the gears again rather than groan at the delay.

These aren't things I do conciously, but instead self-observations made after it's already happened.

Wednesday, February 6, 2013

A "Cheap" Suspension Fix

As long as I've owned the car, there's been a metal-on-metal banging sound that sounded as though it was coming from the passenger-side rear suspension.  At first it seemed random, but I eventually discovered that anytime I unloaded the right side suspension, you would hear it.

I checked under the car and the engine bay and couldn't find anything loose or any sign of metal-on-metal contact.  We pulled most of the rear suspension while changing the springs and again, no sign of anything amiss.  But the noise persisted, so I resigned myself to having the mechanic find it.

And he did...buried beneath the passenger seat and wedged under the carpet, he found this.


I am trying to view the $55 it cost me to find it (I believe it really did take the mechanics $55 worth of time) as an inexpensive suspension repair rather than a very expensive piece of trash.

Sunday, February 3, 2013

New Shoes for a New Stance

Four weekends later, Ella has her new stance and some new shoes to match!  I am thrilled with the look, a little bummed at the condition of the rear wheels (bought used on eBay), and disappointed (but not surprised) that the clunking/clanking in the passenger side rear suspension is still there.

Here she is trying on her new shoes.

And on the ground for the first time.  That nasty wheel gap is gone...but have I gone too far?
She's off for her alignment and a professional diagnosis of the rear suspension clunking noise tomorrow.  Once that's done, I will get some better "glamour" shots to post.

Ella's Red Under Where?

Ever since I've learned about powder coating metal, I've been keen to give it a try.  While working on my lowering spring install, I noticed that a metal panel under the car had a few rust spots.  Actually, Porsche spot-welded some washers onto the panel, which were rusting; the main panel was fine.  


I took the panels over to my new friends at Ace Powder Coating, and they offered me a nice price on powder coating the metal panels as well as the top and bottom hats of the of the front strut.  I figured these were great places to try out powder coating since no one would ever see it.  


 Here are the parts back from the powder coating.  I should have taken a before shot, but they were just black painted metal.  


And a shot of the metal trays installed.  Ella's now got a little surprise waiting underneath.  ;-)


"I could hide out under there...
I just made you say "underwear."

from Pinch Me by the Barenaked Ladies

I've loved that lyric for years!