Ella's headlights were looking a bit tired from the rock chips to the yellow-hued bulbs to the yellowed headlight lenses. She was ready for a makeover.
The Plan
Step 1: Replace the headlight lenses
I ordered the right one from AutohausAZ since they were offering the best price (~$70) by a large margin. I recall reading somewhere that Porsche raised the price on this part, so AutohausAZ must still have some stock at the original price. Unfortunately, they did not have the left side lens, so I ordered that one from Sunset Porsche.
 |
| Metal Gears, Plastic Threads |
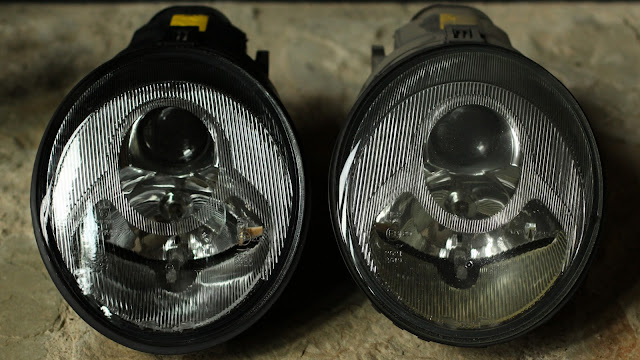
The main headlight lens is glass and did not turn yellow, but there is a clear plastic component on the inside that did. Others have simply removed that plastic component, and I think that is a good idea. My lenses were so rock-chipped, however, that I decided to go with a full replacement.
While you have the lens off, I recommend cleaning and lubricating the headlight alignment system. A number of people on Rennlist have noted that the alignment system uses metal gears on plastic threads and that the plastic threads are easily to damaged. I sprayed mine with a silicone lubricant and had no problems.
 |
| New Lens versus Old Lens |
Step 2: Protect the lenses with Lamin-X
I would like to prevent rock chips on the new lenses, so I decided to cover them with Lamin-X film. The film's installation was pretty easy and I was really impressed with it's ability to slowly vent liquid and air bubbles to give a smooth finish. Positioning was a bit difficult with the round shape of the headlights but I got close enough in a few tries.
Step 3: Install the T-Light Kit from Bergvill FX
I ordered the T-Light kit from Bergvill FX based on the reviews on Rennlist. It is a great HID kit with detailed instructions.
 |
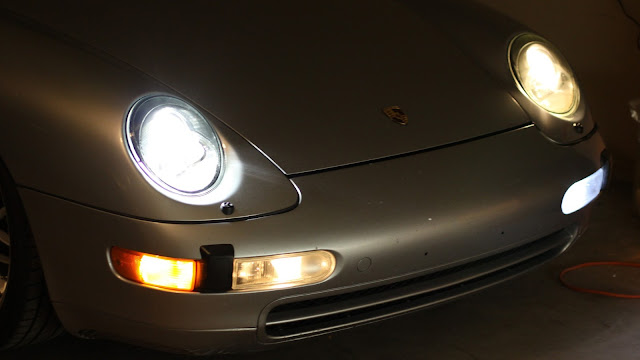
| New and Old |
 |
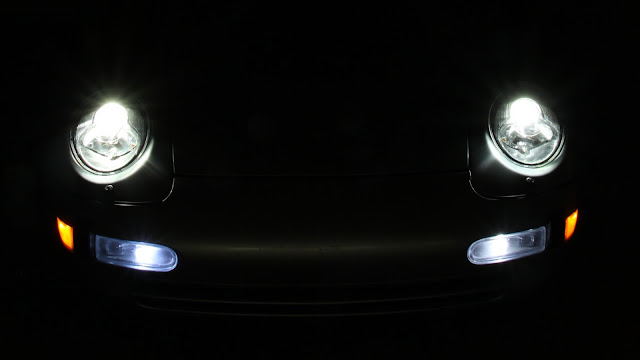
| The Final Result |


Great job on the lights, they look great.
ReplyDelete